Best Ableton Control Surfaces in 2026: Touch, Faders & More
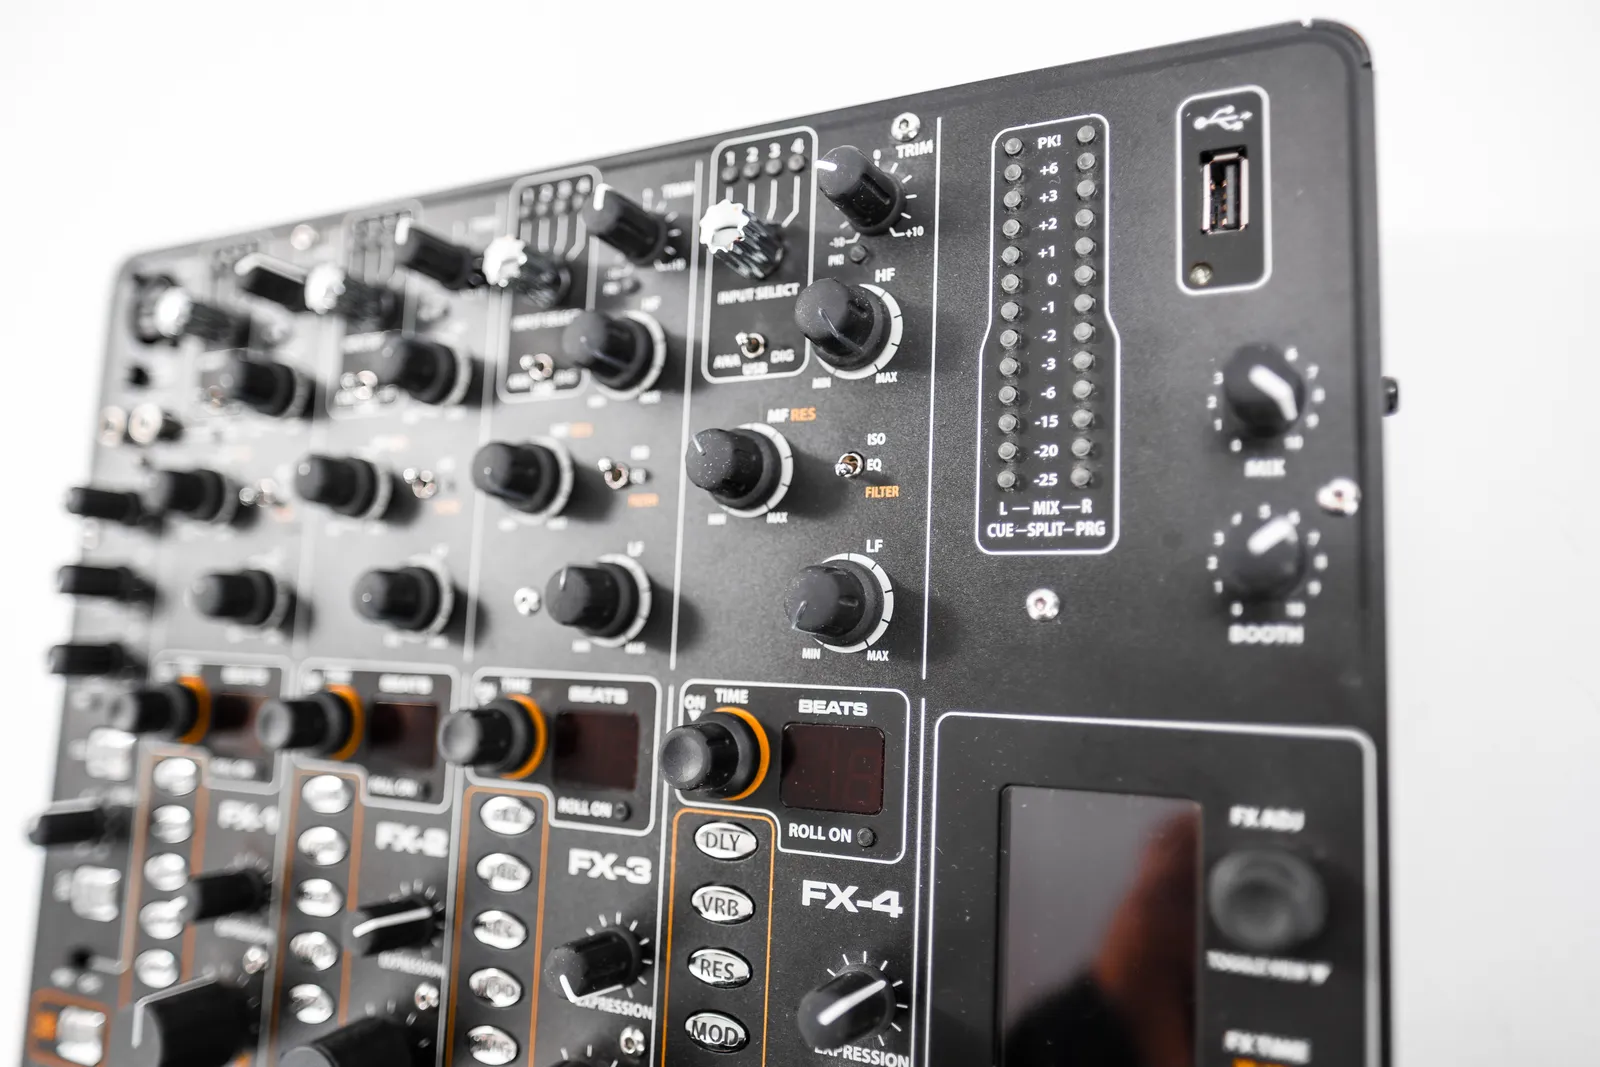
Ableton Live is one of the most flexible DAWs available for production and live performance, but its mouse-driven interface creates a real bottleneck when you're deep in a mix or running a live set. Adding the right ableton control surface removes that bottleneck - giving you hands-on control over faders, parameters, and clip launchers without clicking through virtual interfaces.
TL;DR
- Ableton Push 3 is the deepest-integration option but focuses on performance and composition, not mixing
- Multi-channel fader controllers (X-Touch, FaderPort 8, SSL UF8) are the better choice for mixing-heavy workflows
- Touch screen surfaces show your full session simultaneously - no paging through 8 channels at a time
- Ableton live controller setup takes under five minutes for most class-compliant hardware
What Makes a Good Ableton Control Surface?
Not every MIDI device qualifies as an ableton control surface in the meaningful sense. A basic MIDI controller sends notes and CC messages - useful, but limited. A proper control surface maps to Ableton's internal session parameters directly, reflects track states (muted, soloed, armed), and ideally displays track names on hardware scribble strips.
Ableton Live supports two integration methods:
Instant MIDI Mapping: Any MIDI device works as basic input. Map knobs and faders to whatever parameter you want. No feedback, no automatic state display - but zero setup friction and works with any hardware.
Control Surface Scripts: Purpose-built integration via scripts or the Mackie Control Universal (MCU) / HUI protocols. These give bidirectional communication: the hardware knows what's playing. Transport controls work correctly. Track names appear on hardware displays. Motorized faders follow automation playback. This is what separates a genuine control surface from a generic MIDI input device.
When evaluating options, look for:
- Bidirectional feedback (motorized faders, LED rings, or displays that mirror session state)
- Native transport controls (play, stop, record, undo)
- Session navigation (clip launch, scene launch, track mute and solo)
- USB class-compliant connection - most hardware is now driver-free
- MCU or HUI support if you work in multiple DAWs
Best Ableton Control Surfaces at Every Price Point
Under $200: Budget Entry Points
At the under-$200 tier you're getting functional control with limited feedback. These make sense for testing whether hardware actually improves your workflow before committing to a larger investment.
Behringer X-Touch One (around $100): A single motorized touch-sensitive fader, jog wheel, and transport controls in one unit. Works on MCU protocol, which Ableton recognizes natively. The motorized fader gives genuine positional feedback - it follows automation playback, which a non-motorized fader can't do. A practical starting point if your workflow centers on volume rides and transport navigation.
Korg nanoKONTROL Studio (around $80): Eight channels of fader and knob control in a compact form. No motorized faders or display feedback, but the price point is hard to beat for basic mix control. Functions via MCU emulation with Ableton.
Icon Platform Nano (around $100): Single-channel strip with transport and jog wheel. Compact enough to sit beside a keyboard without dominating desk space. Works across major DAWs, not just Ableton.
At this price you won't get a full session overview or per-channel displays. These controllers handle volume, pan, and transport reliably. For deeper integration, the next tier delivers it.
$200-$500: Mid-Range Performers
This range is where dedicated Ableton control becomes genuinely productive for daily work.
Behringer X-Touch (around $250): Eight motorized faders, eight LCD scribble strips, and a full channel-strip layout with EQ and dynamics controls. Broadly the best value in this range - comparable features to controllers that cost significantly more. Check the Behringer X-Touch full review for a detailed assessment of what it does well and where it cuts corners.
PreSonus FaderPort 8 (around $350): Eight motorized touch-sensitive faders with per-channel displays showing track names and levels. Natively supported in Ableton's control surface preferences. The motorized faders follow automation playback, which makes mix recall much cleaner. The PreSonus FaderPort breakdown covers both the 8 and 16-channel versions in depth.
SSL UF8 (around $450): Eight motorized channel strips with a refined build quality that reflects the SSL heritage. Works via MCU in Ableton. The SSL UF8 review covers the build quality and workflow in detail for engineers considering the SSL ecosystem.
$500+: Professional Tier
Ableton Push 3 (around $600-800 depending on configuration - check current pricing at Sweetwater): The native Ableton controller. Sixty-four velocity-sensitive pads, polyphonic aftertouch, per-pad displays, and a standalone mode that runs Ableton Live without a laptop. If your workflow is Ableton-first - and especially if clip launching, live performance, or beat making are core activities - Push 3 is the purpose-built answer.
The important caveat: Push 3 is not a fader controller. It's designed around clip launching, note performance, and device control, not mixing. For a dedicated mixing session with 40+ tracks, you'll find it limiting compared to a multi-channel fader surface.
Ableton Push vs Fader Controller: Different Jobs
A common point of confusion: the ableton push control surface and a fader controller are complementary tools that excel at different tasks.
Push 3 is built for:
- Launching clips and scenes in live performance
- Playing notes, chords, and drums with velocity and aftertouch sensitivity
- Browsing and loading devices without touching the mouse
- Step sequencing and melodic composition
What Push doesn't handle as well: managing a dense mixing session, automating EQ curves across many channels, or giving you the physical weight and travel of dedicated mix faders over a long session.
For mixing-focused workflows, a multi-channel fader controller (FaderPort 8, SSL UF8, X-Touch) does the day-to-day mix work better than Push. The practical best-of-both approach - Push for composition and performance plus a fader controller for mixing - runs $850 or more combined, but gives you genuinely different tools rather than two devices doing the same job.
Ableton Live Controller Setup: Step by Step
Setting up a midi control surface ableton live session is straightforward for most hardware:
- Connect your controller via USB (most devices are class-compliant - no driver installation needed)
- Open Ableton Live and navigate to Preferences > Link, Tempo & MIDI
- Under Control Surfaces, select your device from the dropdown on the first available slot
- Set Input and Output to the MIDI ports your controller shows as in the dropdown
- Switch your hardware to its Ableton or MCU mode - most controllers ship in a generic MIDI mode and need to be manually changed
Ableton maintains official documentation on control surface setup listing which protocols each supported hardware uses. If your device isn't in the Control Surfaces dropdown, use User 1 and configure mappings manually via MIDI Map Mode (Cmd+M on Mac, Ctrl+M on Windows).
Once configured, Ableton live controller setup remembers your hardware between sessions. You won't need to redo this every time you launch.
Touch Control Surface for Ableton: The Full-Session Approach
Hardware fader controllers give you physical buttons and motorized faders - but they show eight channels at a time, sometimes one. Navigating a 32-track session on an 8-channel surface means paging back and forth. You're always looking at a slice of your session, not the whole thing.
A touch control surface for ableton works differently: it mirrors your DAW's full mixer view and lets you interact with it directly using your hands. No channel paging. Every track visible simultaneously.
TouchDaw takes this approach. It's a 38" x 10" ultra-wide touch display designed to lay flat on your desk, turning your DAW's on-screen mixer into a hands-on surface. You interact directly with the visual faders and controls Ableton draws - drag a fader, tap a mute button, adjust a send - across all your tracks at once.
| Controller | Type | Price Range | Ableton Integration | Channels Visible |
|---|---|---|---|---|
| Ableton Push 3 | Performance pad + control | $600-800 | Native (deepest) | 8 at a time |
| PreSonus FaderPort 8 | Motorized fader | ~$350 | MCU | 8 |
| SSL UF8 | Motorized fader | ~$450 | MCU | 8 |
| Behringer X-Touch | Motorized fader | ~$250 | MCU | 8 |
| Behringer X-Touch One | Single motorized fader | ~$100 | MCU | 1 |
| TouchDaw | Touch screen surface | $50-190 | Any DAW (visual) | All tracks |
TouchDaw connects via USB-C, runs on Mac and Windows without iLok or additional software, and sits well below any multi-channel hardware controller in price. The tradeoff versus motorized hardware: you don't get the tactile resistance and throw of a physical fader. What you get instead is full session visibility and the ability to touch any parameter on any channel without paging.
For engineers who find the 8-channel limit of hardware controllers disruptive to their mixing process, a touch screen surface addresses a different friction point than motorized faders do. It's worth understanding both options before committing.
For more context on how different control surface types compare, the complete DAW control surface guide covers the full spectrum from entry-level to professional hardware.
Pro Tip: For Ableton specifically, pairing a touch screen surface for full-session visual control with a single-channel hardware unit (like the X-Touch One) for dedicated transport and jog wheel access gives you hands-on fader control across all channels AND reliable transport without reaching for the mouse. Total cost under $300 - and each device does something the other genuinely can't.
Protocol Notes: MCU, HUI, and MIDI CC
One practical detail that trips up a lot of buyers: the protocol your controller uses determines how deep its Ableton integration runs.
MIDI CC is one-way - the hardware sends, Live receives. Motorized faders won't follow automation. Displays won't show track names. Useful for simple parameter mapping, but not a true control surface experience.
HUI (Human User Interface) is a bidirectional protocol developed by Digidesign (now Avid). Works in Ableton but was designed for Pro Tools. Some inconsistencies with Ableton's implementation are documented in user forums.
Mackie Control Universal (MCU) is the most widely supported bidirectional protocol in Ableton. Most modern fader controllers default to MCU. If your hardware supports MCU, Ableton's built-in MCU device script handles the integration. The MIDI control surface overview covers how these protocols differ and which to prioritize depending on your DAW.
Sound on Sound's control surface reviews offer technically detailed long-form assessments of hardware integration quality - worth reading for any purchase above $200.
Which Ableton Control Surface Should You Buy?
The best choice depends on how you actually use Ableton:
- Live performance and composition focus: Push 3 - nothing else integrates as deeply for clip launching and note performance
- Mixing-heavy workflow: Behringer X-Touch for best value, SSL UF8 for best build quality
- Budget starting point: X-Touch One - motorized fader and transport, around $100
- Full session overview with tactile control: TouchDaw touch screen surface - all tracks visible at once
- DAW flexibility across multiple applications: MCU-compatible hardware (X-Touch, SSL UF8, FaderPort) rather than Push
The best ableton control surface isn't the most expensive one. It's the one that removes the specific friction from the tasks you actually spend most of your session time on.
Frequently Asked Questions
What is the best control surface for Ableton Live? For production and live performance, Ableton Push 3 offers the deepest native integration. For mixing-focused workflows, the Behringer X-Touch gives the most value at around $250. For full-session visibility across all tracks simultaneously, a touch screen surface like TouchDaw offers something no hardware fader controller does.
Does Ableton work with any MIDI controller? Yes - any MIDI controller can send data to Ableton in User mode. But for bidirectional integration (motorized faders that follow automation, displays that show track names, transport controls that work properly), you need a controller that supports the MCU or HUI protocol and shows up in Ableton's Control Surfaces preferences.
How do I set up a control surface in Ableton? Connect your hardware via USB, open Ableton Preferences, navigate to the Link, Tempo & MIDI tab, select your device from the Control Surfaces dropdown, and set the input and output MIDI ports. Most class-compliant hardware installs without drivers. Check Ableton's official documentation if your device isn't listed.
Can I use Ableton Push with other DAWs? Push 3 is designed specifically for Ableton Live. In other DAWs it functions as a basic MIDI controller but loses all the deep integration - clip launching, per-pad displays, device control - that defines its value. If DAW flexibility matters, choose an MCU-compatible controller instead.
Is a touch screen control surface good for Ableton? A touch screen surface like TouchDaw complements Ableton well for mixing workflows. It shows your full session layout simultaneously so you can touch any channel without paging, and works across Mac and Windows with no additional software. It doesn't replace the tactile resistance of a physical fader, but it eliminates the 8-channel visibility limit of hardware fader controllers.
What's the difference between Ableton Push and a fader controller? Push is a performance and composition instrument - optimized for clip launching, beat-making, and live note input. A fader controller is optimized for mixing - it gives you physical control over channel volumes, pans, sends, and transport with motorized faders that follow automation. They address different parts of the production workflow, and many professional setups use both.